An Inventory

This year, we spent Christmas with my in-laws.  My mother-in-law is in poor health.  She has cancer and then got pneumonia.  She was in the hospital for 2.5 weeks, moving to rehab on the Tuesday after Christmas.  For a while, we thought she wasn’t going to make it to Christmas, but she did.  For the moment she’s stable, but the cancer is advanced and at this point we count each day as a gift.  During the time I visited with her, we talked a lot about her life and what has been important to her and what is important to her now.  “None of that stuff matters to me anymore,” she said, referring to her physical possessions.  What matters to her is speaking with and spending time with her people — her children, grandchildren, siblings, nieces, nephews, friends.

In November, my husband was laid off from his job.  This was something we’ve expected for some time, so we’ve saved money and he got a severance payment, so we are not in an immediate financial crisis.  He spent most of the last six weeks with his mother and is now starting to look for a job.  We don’t know how long it will take for him to find a job, so we need to manage carefully so that the money we have lasts for as long as possible.  As a result, buying yarn and fiber are definitely off the list!  I must craft from stash.

These two factors have me thinking a lot about what really matters and about how I want to spend my time.  I am feeling the need to let go of some things and consolidate others.  I want to spend more time on my fiber pursuits.  Over the last few years, I’ve acquired an astonishing variety of fiber books, tools, and supplies.  I’ve acquired things at a much quicker clip than I’ve crafted them.  Once upon a time, I kept Ravelry up-to-date, but I fell out of the habit.  I feel as though I don’t really know what I have anymore and to make plans, I need to know what I have.  It’s time for an inventory.

Fortunately, inventorying is in my blood.  For most of my growing up years, my father worked in stock rooms.  When I was very small, he worked in the warehouse of a local clothing store.  When I was 11, we moved to a different state where he had a new job as the manager of a hospital stock room.  My sister and I went to a private school in the same town as the hospital, which was a 30-minute drive from where we lived.  We commuted with my father.  Since we got out of school a couple of hours before he got out of work, we spent those hours at the hospital.  We usually stayed in the cafeteria, working on our homework.  Sometimes, especially on days when they were short-staffed, we hung out in the stock room, working on homework and occasionally answering the phone to take orders from the floors while the employees pulled and delivered the needed items. Twice a year, on a Sunday, the stock room closed for inventory.  All the stock room employees came in, along with people in other administrative departments, and my sister and I.  We counted every single item on every single shelf, balancing the inventory against the computer.

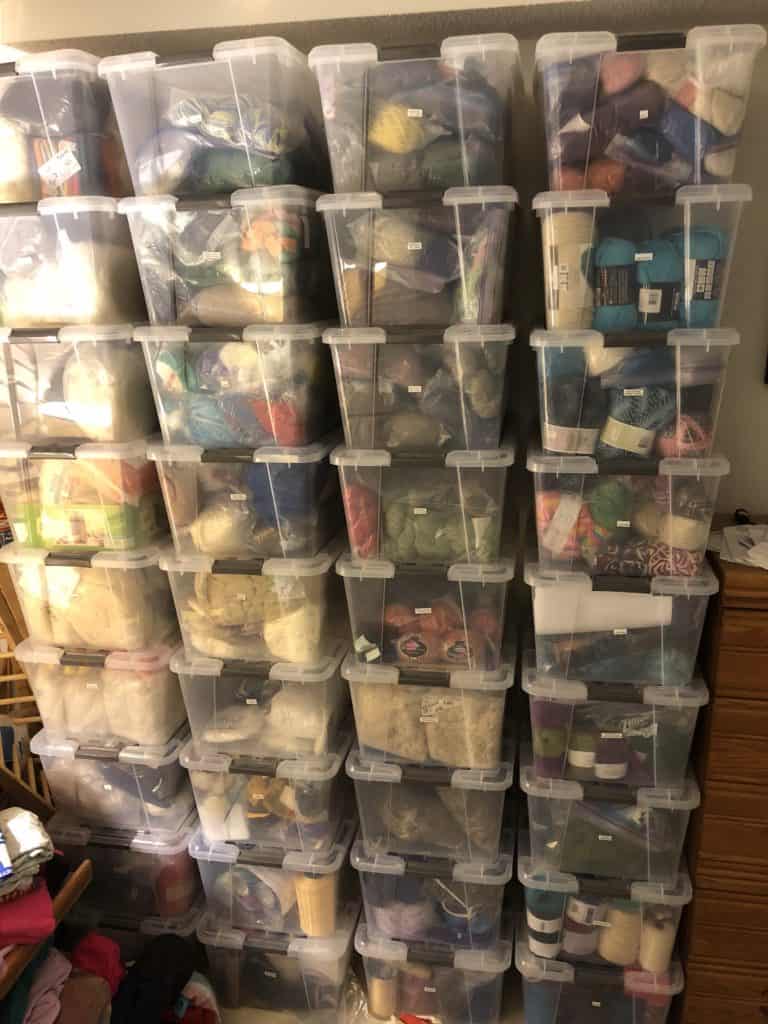
I started my personal inventory process before Christmas.  I started by consolidating — putting away all the random yarn and projects scattered around the house.  It’s a lot easier to do inventory when everything is where it belongs.  It’s a little scary to flash my stash, but here’s the pix so you can see where I am now.

These bins are the main stash collection.  Each of these is a 40 quart bin.  One of the bins holds finished projects waiting to be gifted, but the rest are full of yarn and fiber.  I sorted the fiber by type (wool, plant fiber, blends, batts, etc).  There’s so much wool that it takes up 8 bins and I’ve alphabetized the wool by breed.  I separated the yarn by weaving yarn and knitting / crocheting yarn.  Then I sorted each of those categories  size of the yarn.

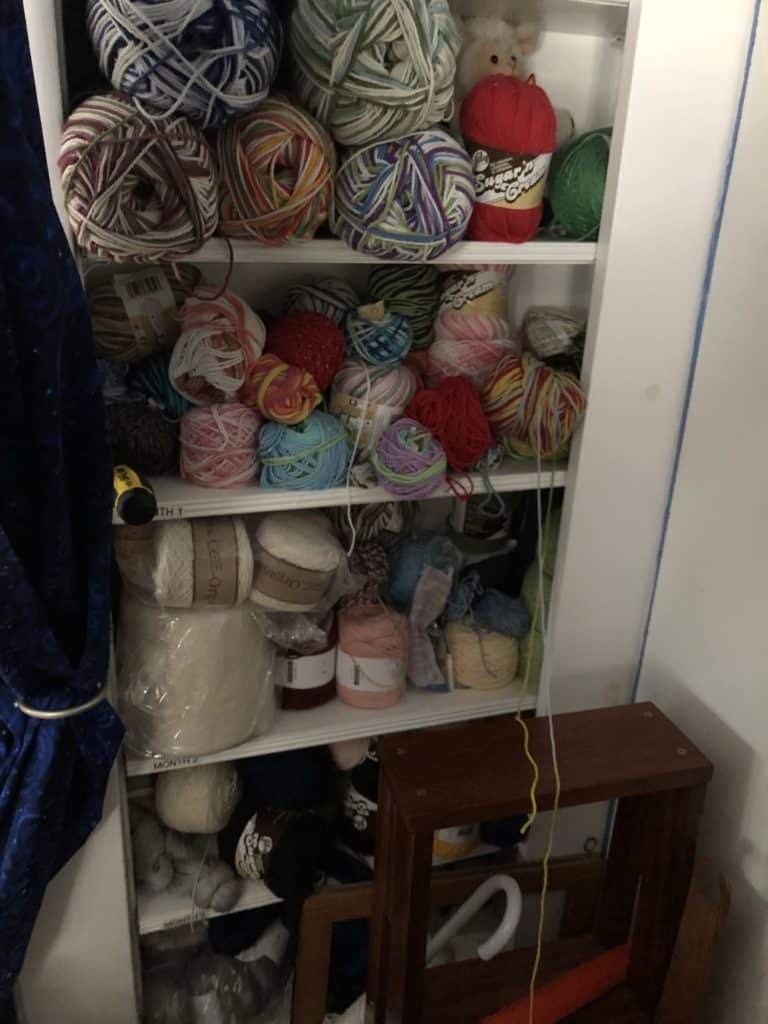
These shelves hold the yarns made from plant fibers.  It’s mostly cotton, but there’s some linen and bamboo in there also.

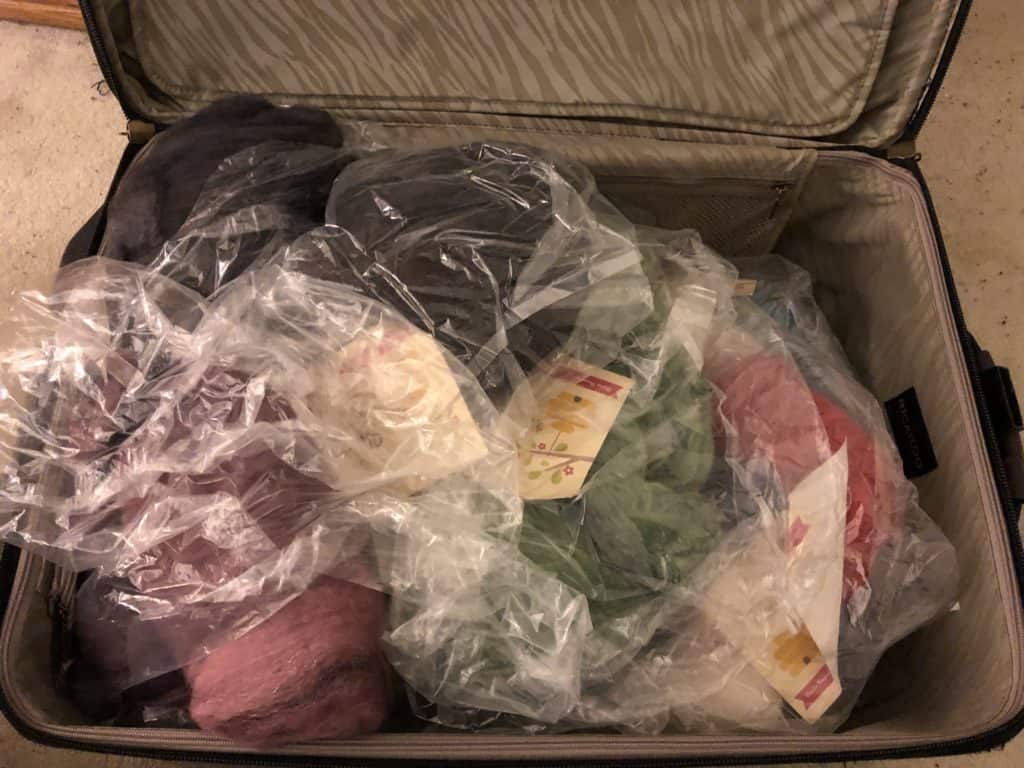
These batts have been living in this suitcase since I bought them last April because I can’t fit them anywhere else.

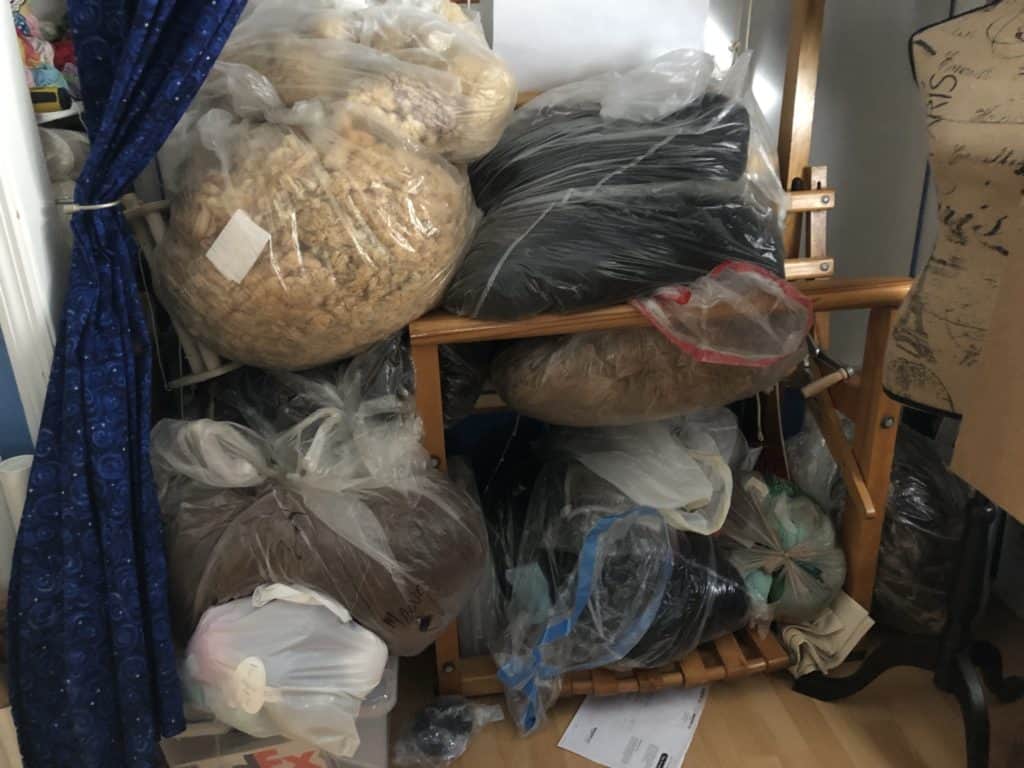
This pile consists mostly of raw fleece, waiting for me to wash and process it.  There’s also a couple of bags of yarn that I haven’t put away.  That’s my four-harness, 28″ weaving width LeClerc Fanny counterbalance loom under all that fleece.

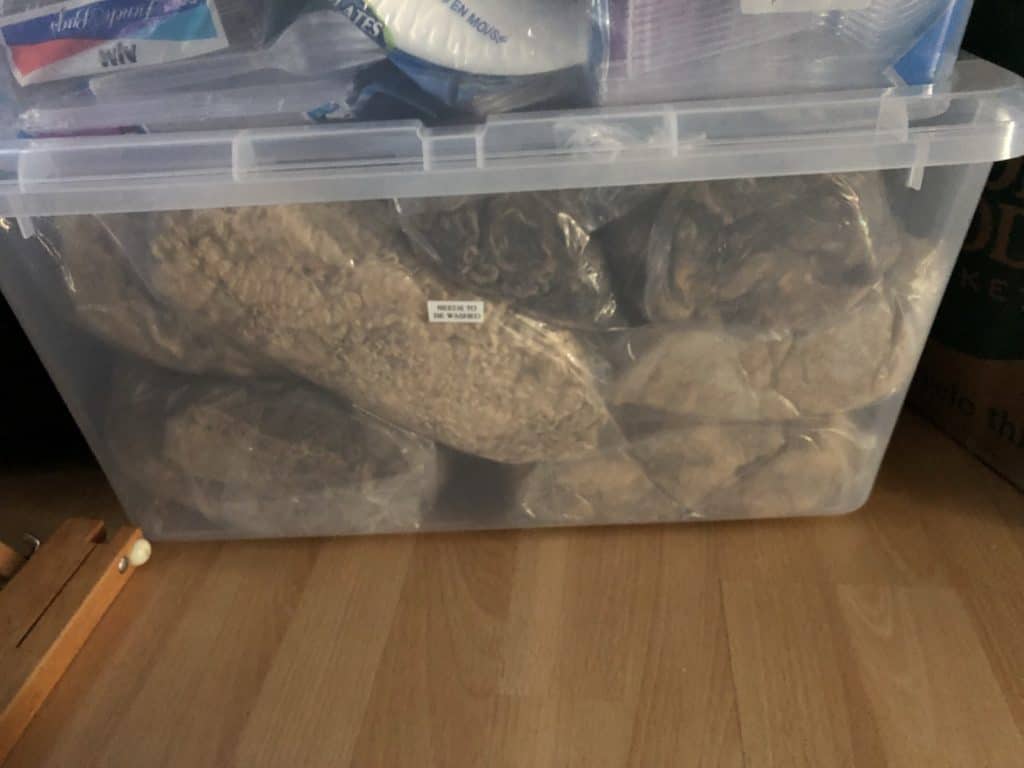
This bin holds raw fleece in smaller quantities.  There’s a variety of breeds in this bin, but no more than a pound from any one fleece.

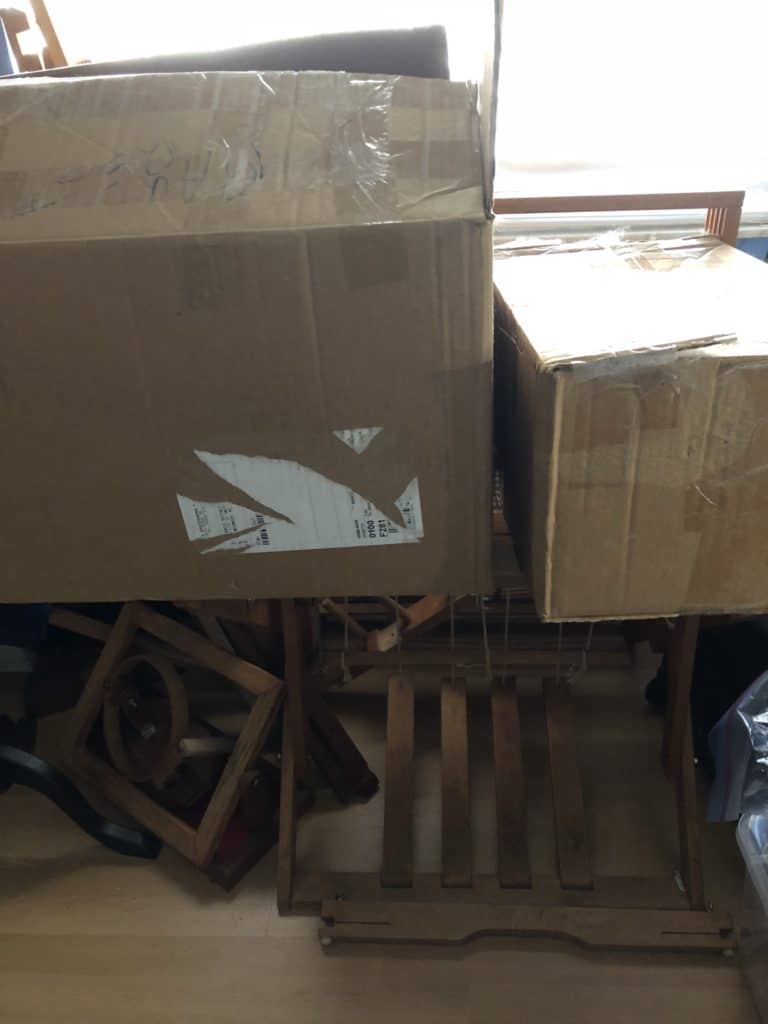
These boxes hold fleeces that I bought and had processed by mills.  I believe there’s three fleeces total in here.  They are sitting on top of my four harness, 22″ weaving width Dorset direct tie-up loom.

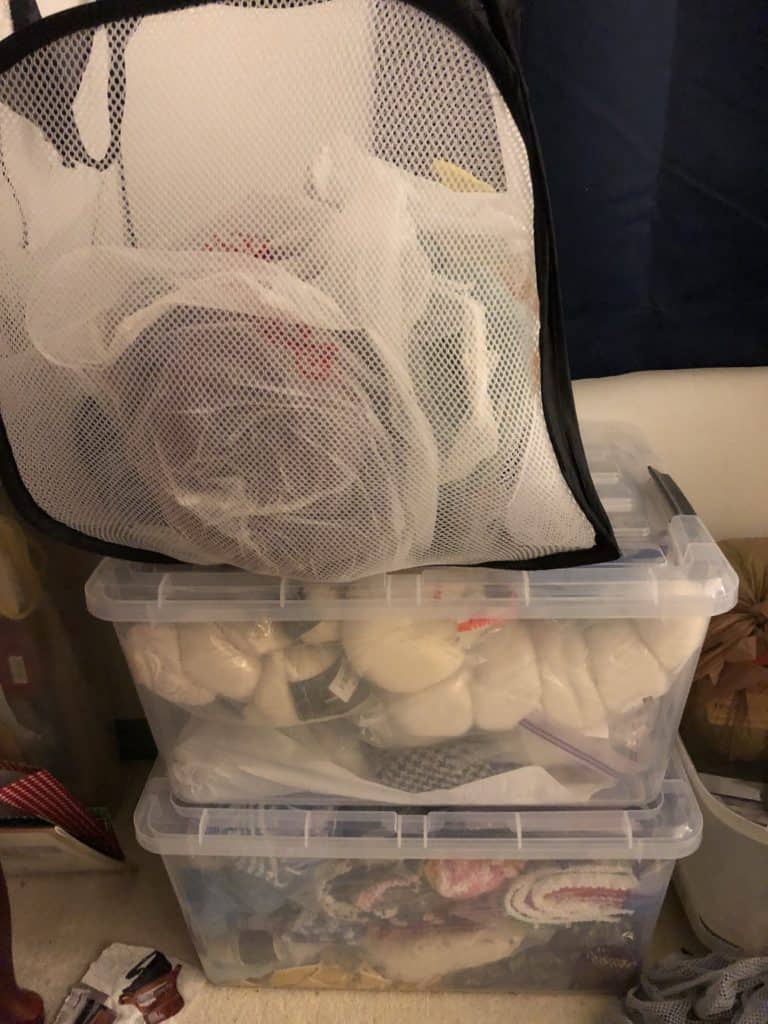
These bins and the hamper on top of them hold WIPs.  A couple of years ago, I conquered all my WIPs, but now I have a new pile.

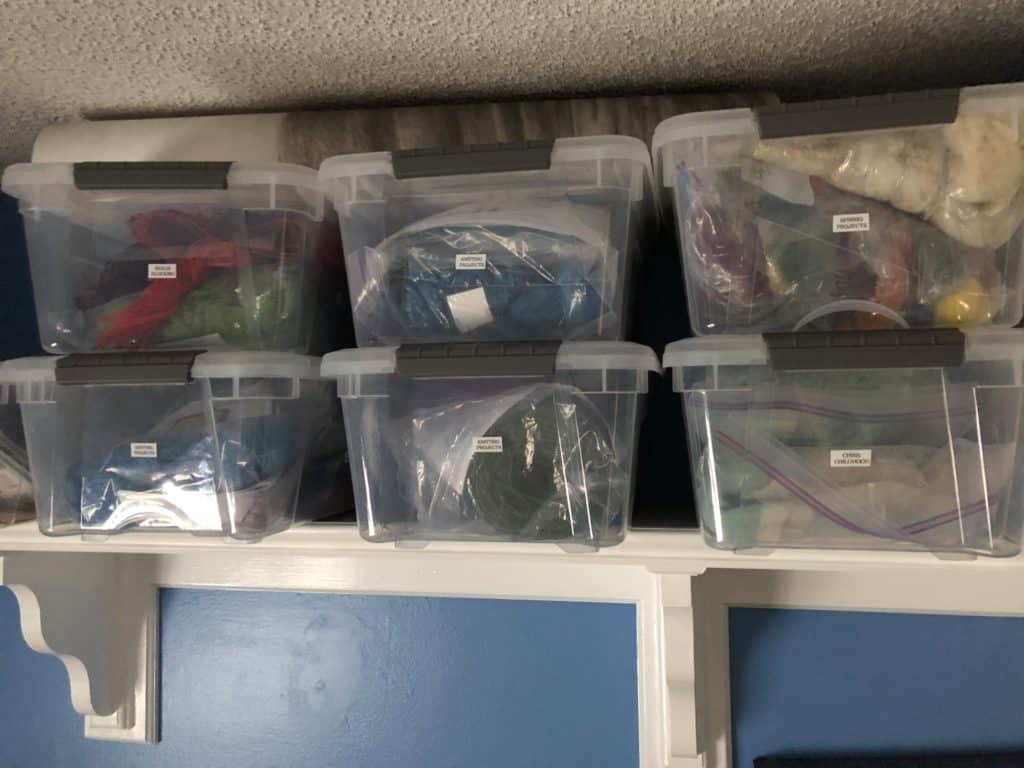
These are smaller bins, about twice the size of a shoebox.  They hold a couple of WIPs, including two or three that only need blocking, but mostly they are projects waiting for me to cast on.  I matched yarn to patterns and sometimes the needles are with them also.

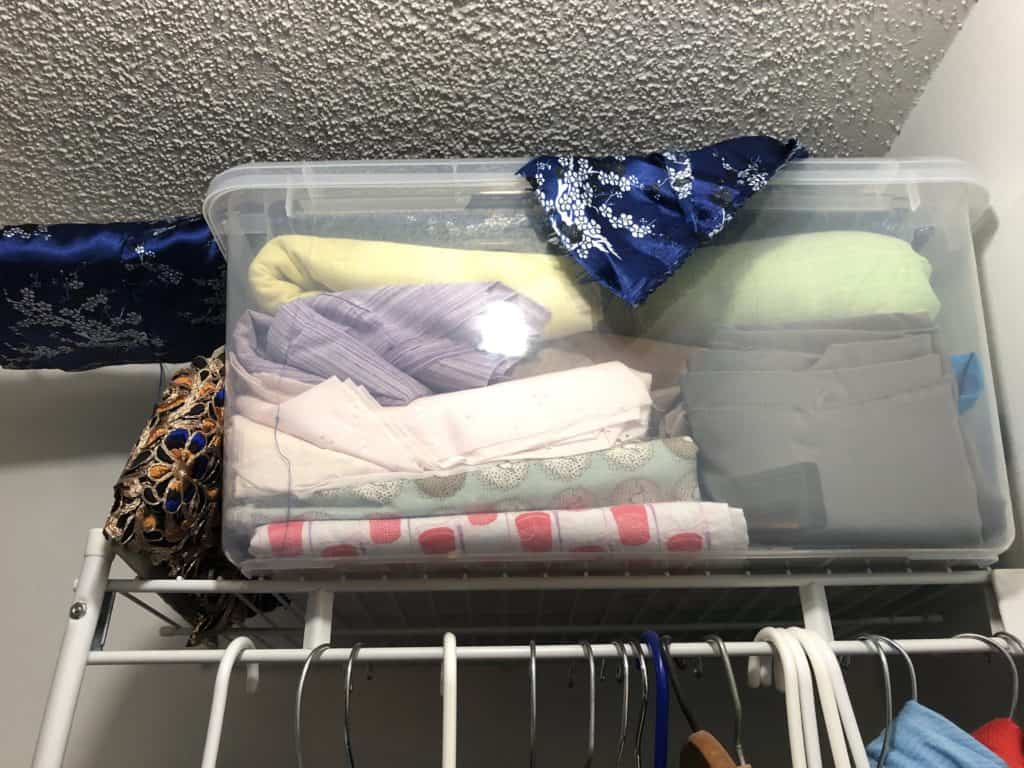
Finally, this is my fabric collection.  Last spring and summer, I took sewing lessons.  I’ve mostly sewed pillowcases, which we send to the pediatric oncology ward where my cousin works, for nurses to distribute to the kids.  I actually have a lot more fabric than this, but everything I bought for pillowcases is stored at my mother’s house.  This is everything I have at my house.

I have complicated feelings about all this stash.  I’ll be writing more about it as I continue the inventory process.  My goal for the next week is to get Ravelry back up-to-date.  I’ve downloaded the spreadsheet of my Ravelry stash as a starting point.  I’ll write an update next week, to share my progress and next goal.

Braaains

Today’s Yarn Love Challenge prompt is “Currently Making.”  If you haven’t read my previous posts, this is the third in the series.  If you’d like to start from the beginning, here’s the link to day 1.  At the end of each post there’s a link to the next post in the series.  If you’ve read the earlier posts, but missed yesterday’s, click here to catch up!

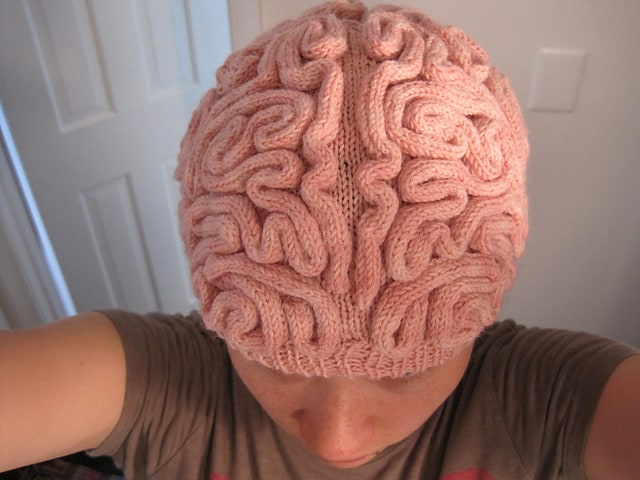
I’ve mostly been making brains.  Perhaps you’ve heard about the March for Science scheduled for April 22?  The date was set in early February, not long after the Women’s March.  Crafters excited about the impact of the pussy hats immediately started discussing options for hats for the March for Science.  Many scientists and science lovers expressed an interest in Brain Hats.

Photo by pattern designer Alana Noritake

As even a non-knitter can probably tell, this hat is far more complicated than the brain hats.  In the March for Science Ravelry group and Brain Hats Facebook group, there’s much discussion regarding better ways to make these hats, so sufficient numbers can be made before the march.  The project breaks down into three primary tasks: (1) Creation of the skull cap, which is a straight forward and fast knit; (2) Creation of the i-cord, which isn’t difficult but is tedious and time-consuming; (3) Attaching the i-cord to the skull cap.  Since I’m lucky to have a number of local fiber friends, I e-mailed them all and asked if anyone was interested in working on this project together.

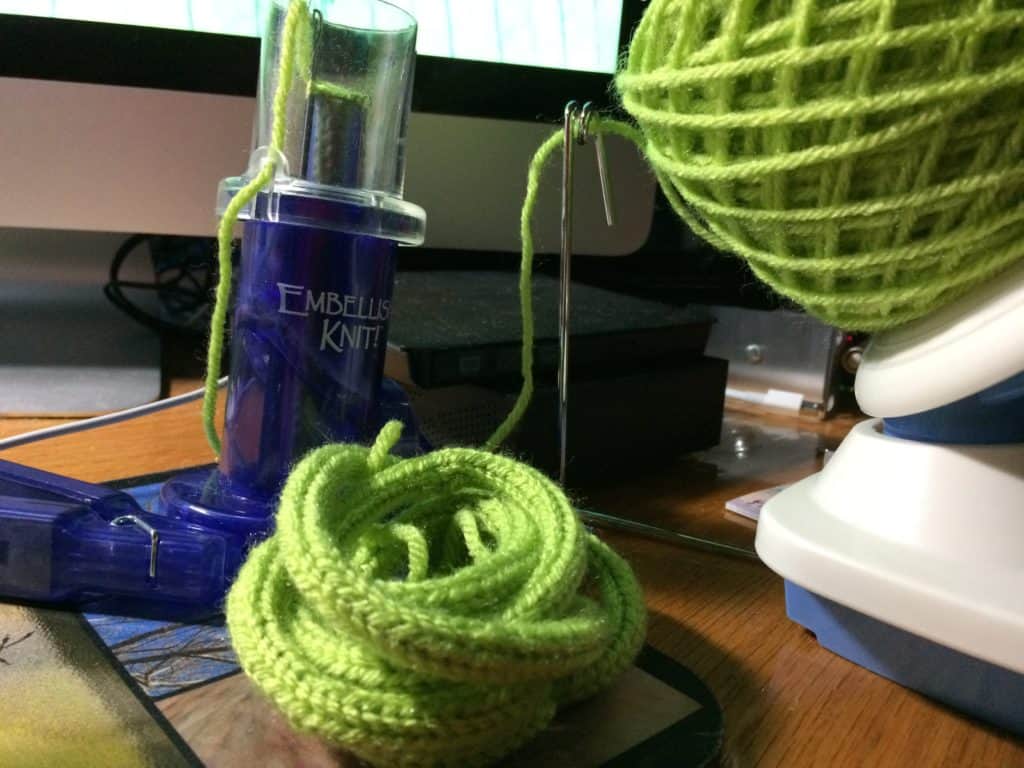
My friend Katie has knit caps.  As of last week, she’d finished 13 of them.  I’m sure she’s finished a few more since last week!  I am working on the i-cord for the brains.  To make this process easier, I procured an Embellish Knit i-cord maker (Amazon Affiliate Link).  It’s tough to find them now, even through Amazon, because they either have been or are being discontinued by the manufacturer.  I managed to scoop up three of them on clearance at my local Jo-anns.  I wind the yarn I’m working with onto a ball winder and leave it there while I crank the i-cord.

Keeping the working yarn cake on the ball winder helps in two ways.  First, the ball of yarn doesn’t hop around all over the floor while I’m working.  Second, the working yarn feeding into the Embellish Knit doesn’t get tangled with the finished i-cord coming out of the bottom of the machine.  The i-cord doesn’t just move straight down as you crank.  It tends to whip around in a circle and quickly become tangled with the working yarn unless you keep the two ends far apart.

The yarn in the picture above is Vanna’s Choice.  The Embellish Knit instructions say that you cannot use anything thicker than fingering weight in the machine.  However, after much experimentation, I found that I could use worsted weight yarns as long as they are smooth, slippery yarns.  I have to pay attention when setting up the machine and I have to move the weight up to the base of the machine after I’ve cranked about six inches of i-cord.  I also can’t crank as quickly as I would if I was using a thinner yarn.  However, it is quick enough.  Using this set up of Embellish Knit plus ball winder, I am able to crank through an entire skein of Vanna’s Choice in 45 – 60 minutes.  Each skein is probably enough brains for one hat.

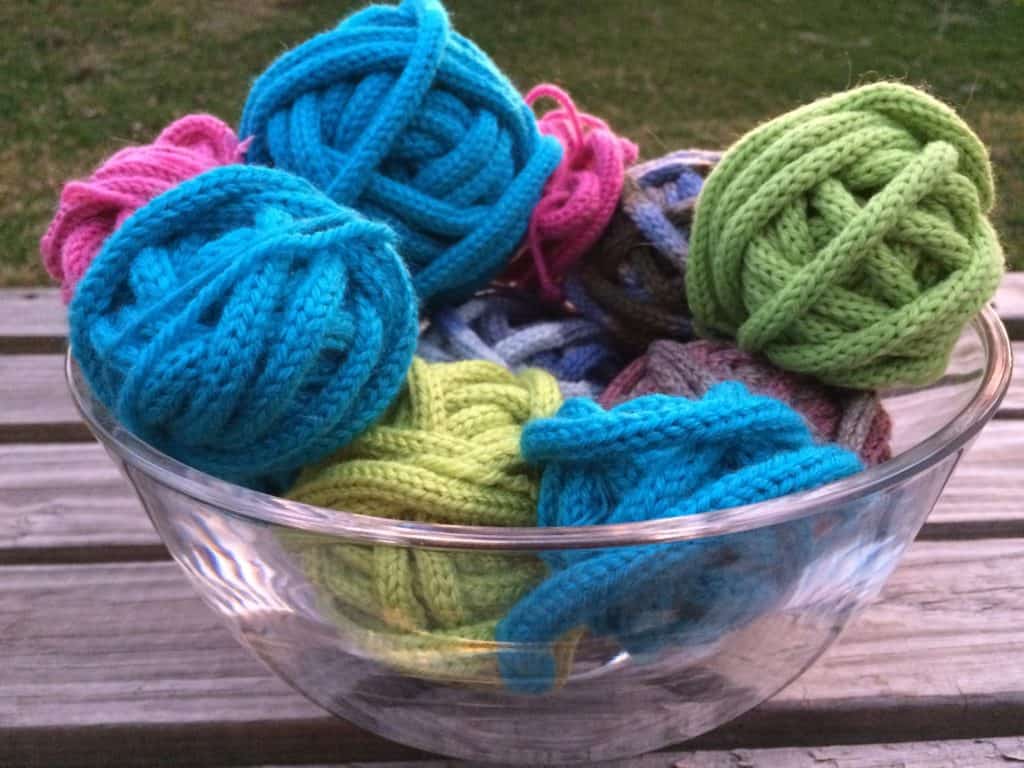
A bowl of brains. The pink yarn is the practice yarn that came with the machine. The turquoise and the yellowish-green are Vanna’s Choice. The darker green is Cascade 220. The pink / gray variegated under the Cascade 220 is Debbie Bliss Sock yarn. The blue-gray variegated and the blue-variegated towards the back are a worsted weight felted singles yarn, no longer labeled with a brand name. It’s some of the first yarn I purchased back in 2006 when I started knitting again. I ordered it from Uruguay, from a place that appears to no longer be in business.

Sometime soon, we have to start attaching brains to hats.  In order to make that process easier, I purchased a styrofoam head meant for displaying wigs.


Since attaching the brains will take both hands and since it is better for the hat to be slightly stretched, I needed a way to holding the hat still and stretched while I am working.  In the previously mentioned Ravelry and Facebook groups, people have mentioned several options for stretching the hats, but many of the other methods (e.g. a balloon) still required you to hold the stretcher while simultaneously applying the brains.  Even some using the styrofoam heads found it challenging to keep the head still while working.  They make clamps designed specifically for holding these heads firmly on a surface, so I purchased one of those a the same time I bought the head.

Close Up

It’s Yarn Love Challenge Day 2!  If you missed day 1, explaining what exactly Yarn Love Challenge is, please see yesterday’s post.  Today’s prompt is “close up.”  Over the last few years, I’ve tried to improve my ability to take close up pictures.  Close ups help us focus on details, providing a better understanding of and appreciation for finished projects.  Rather than just sharing fiber arts pictures in this post, I’ve chosen close-up pictures that represent different aspects of my life.  Collectively, these small details provide a better understanding of the ongoing project that is my life.

Fiber

Since this is primarily a fiber blog, I am starting with the fiber pictures!

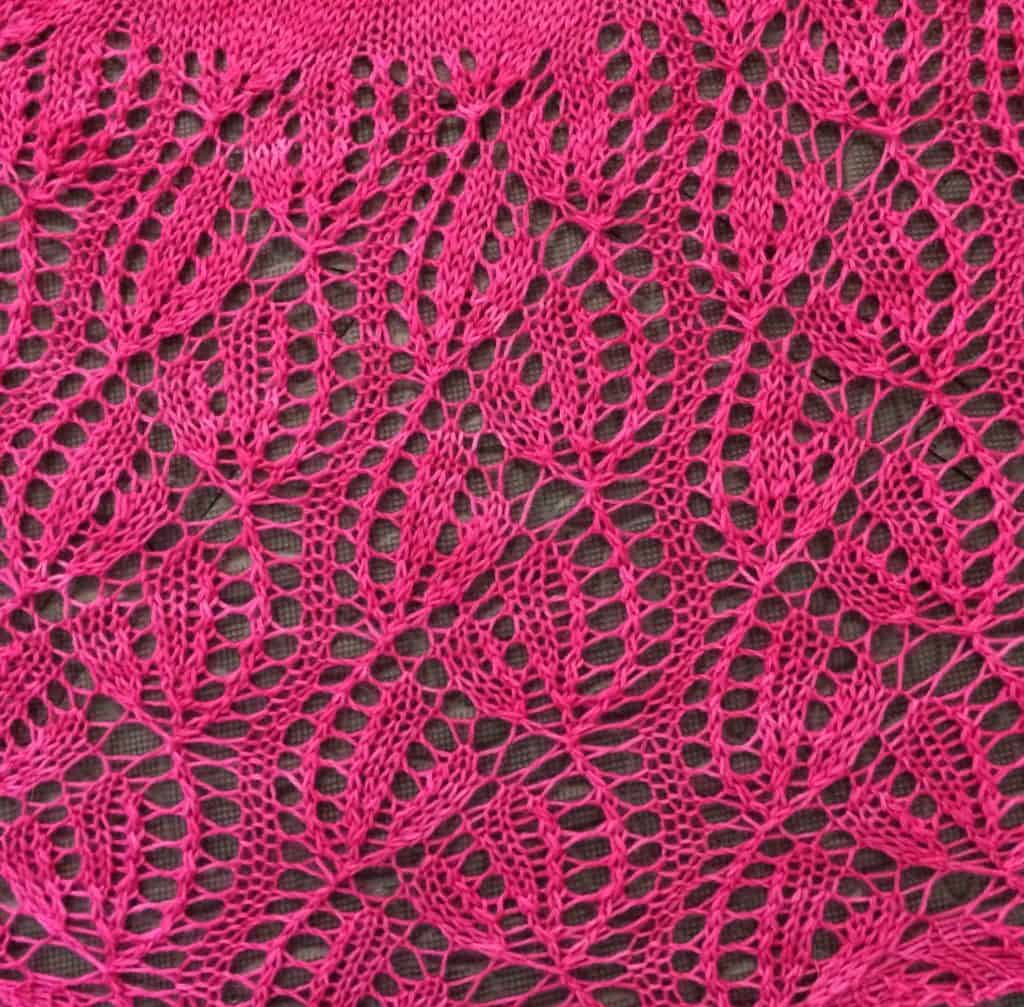
First, one of my favorite projects and pictures: a close up of the lace border on the Raindrops on Roses Shawl.

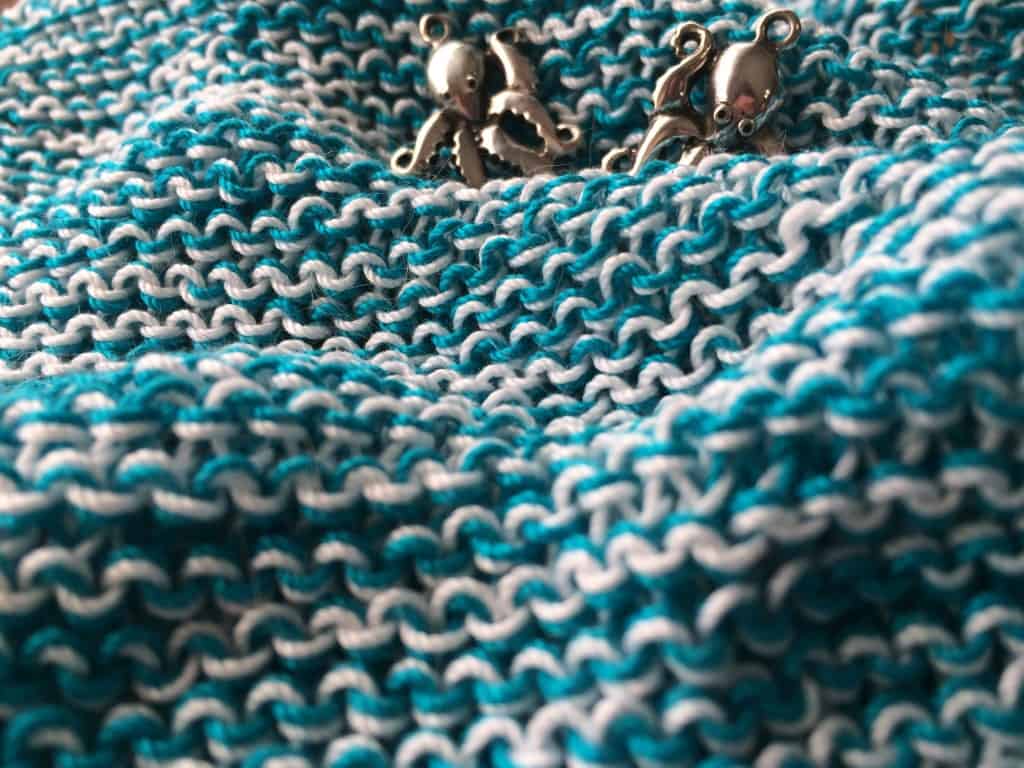
Next, one of the first close-up pictures I ever took of a fiber project.  It’s a humble garter-stitch dishcloth and I hoped to take a picture that made it look like more fun than that!  I tried to make it look like ocean waves and added the octopi charms both because of the ocean theme and because I love octopi so much.

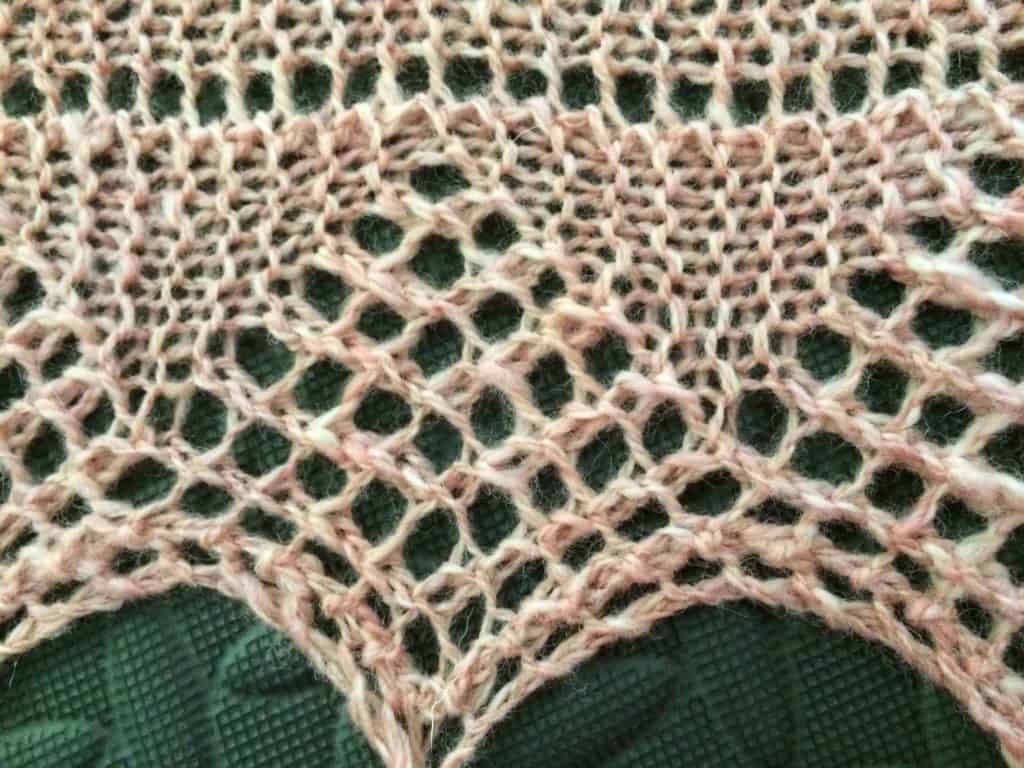
This is the lace edging on the first project I ever knit from my own homespun yarn.  I was (and am) so proud to be able to knit from yarn spun by my own hands!

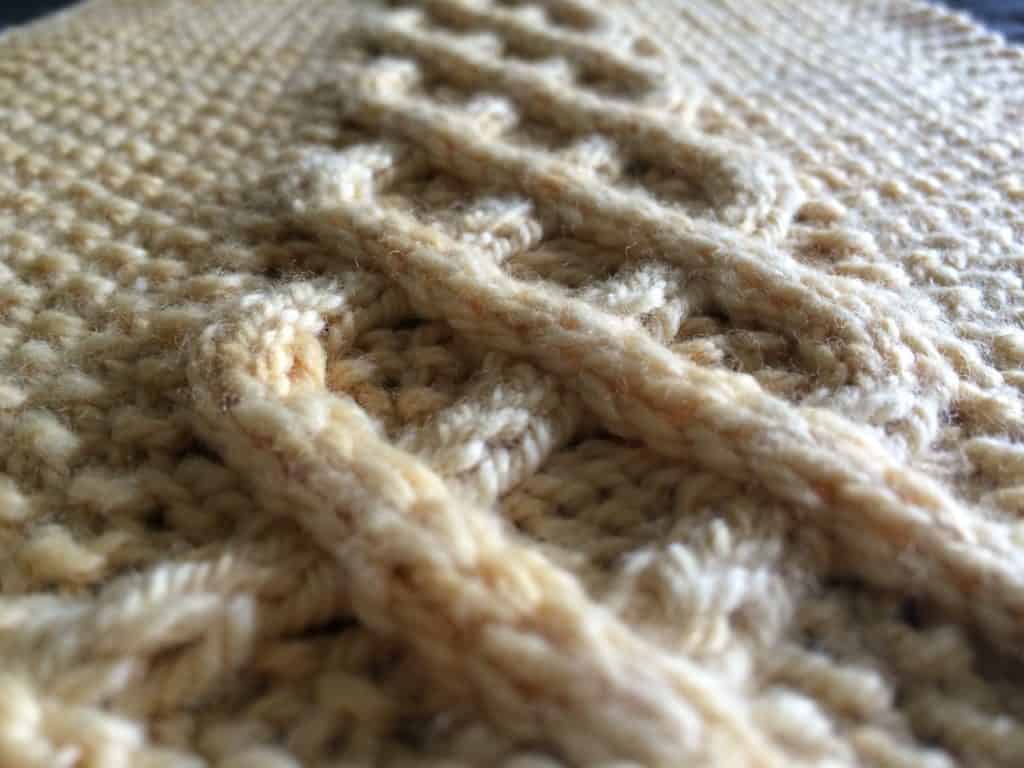
I have been obsessed with cables ever since I knit a cabled baby blanket as my second-ever knitting project.  (The baby I knit that blanket for just got married this week and is expecting his first child).  When I knit the Sand Tracks scarf, I became obsessed with the combination of cables and seed stitch.

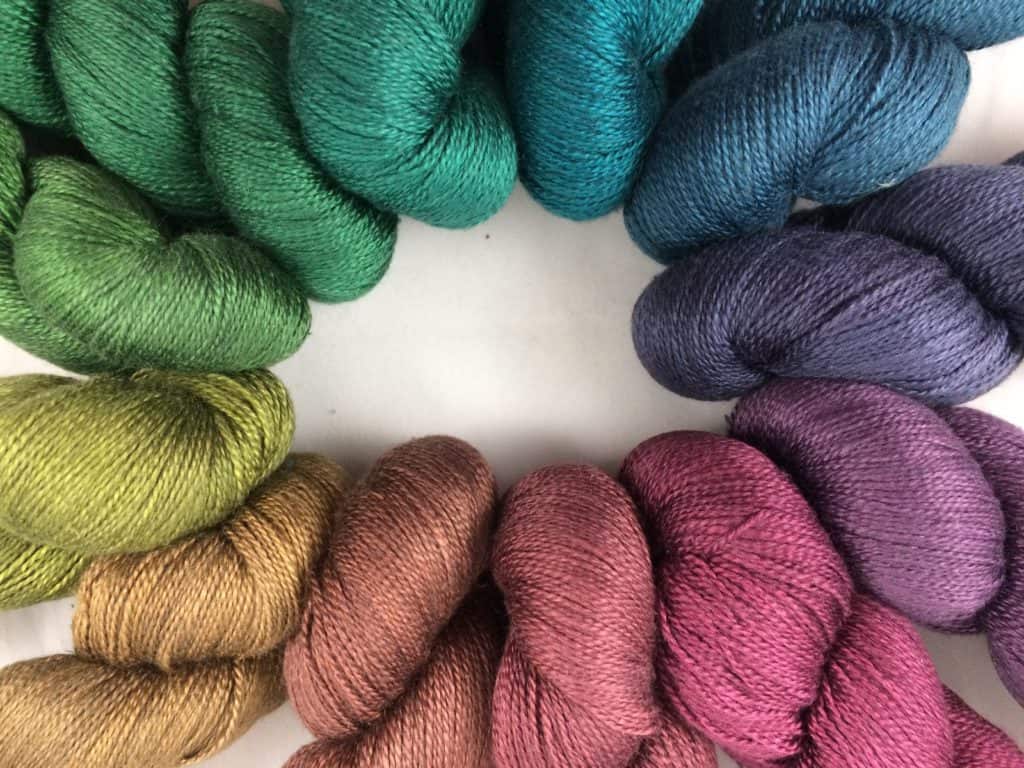
Rainbows make me happy, and this Redfish Dyeworks 20/2 Spun Silk gradient is no exception.  I love this picture because it captures all the skeins in the gradient and because there’s something perfect about the way the circle draws my eye around and around and around the rainbow.

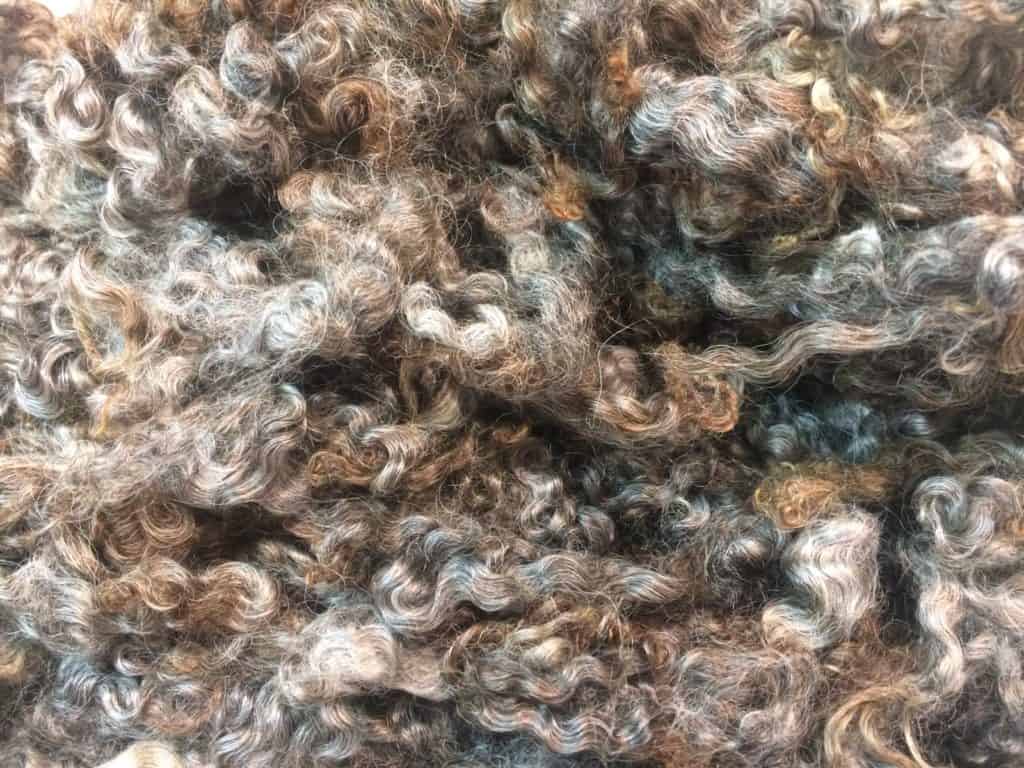
The Gotland / Teeswater fleece pictured here is one of the first fleeces I purchased (at SAFF 2016) to process by hand.  This picture is of the raw fleece and I love all the different colors in the fleece.  I took this picture just before I washed it.  I have yet to comb or spin it.

Tiger

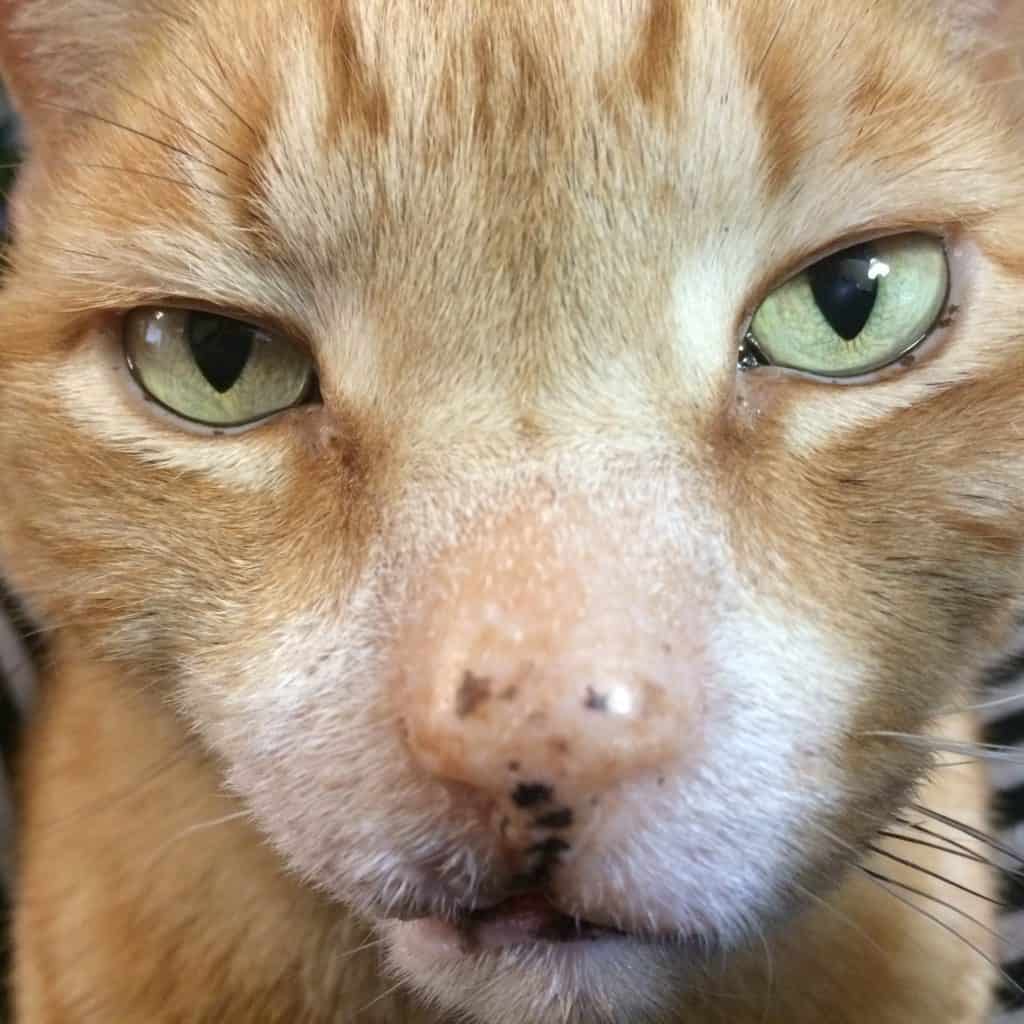
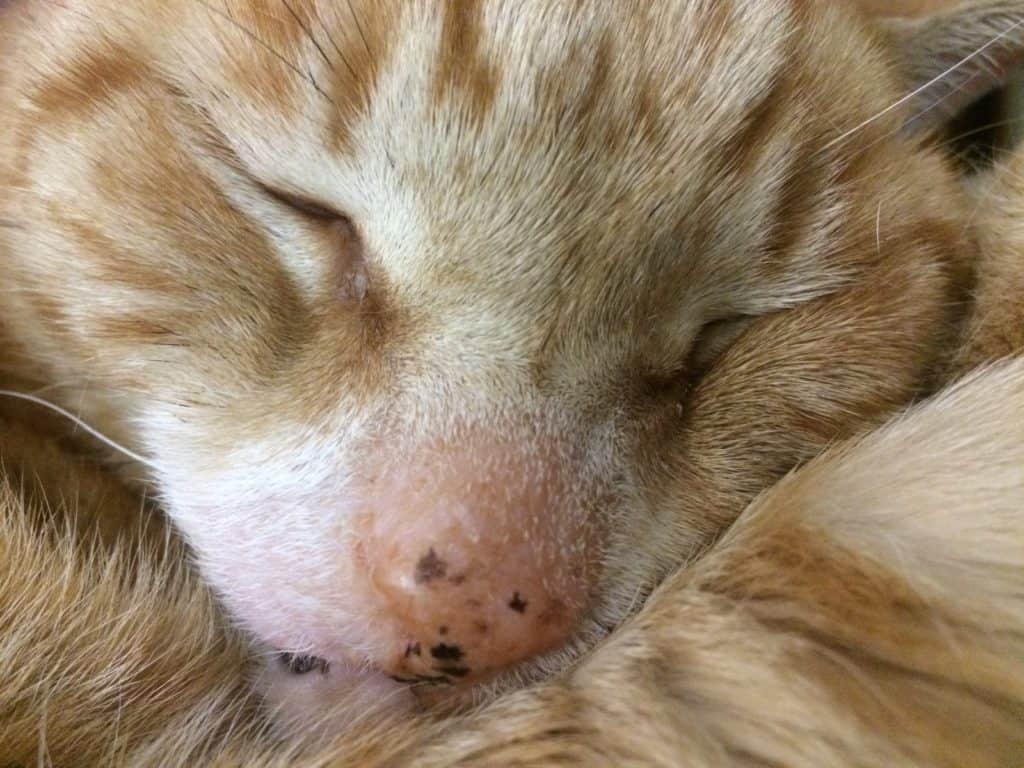
I take a ridiculous number of pictures of our cat, Tiger.  He’s so photogenic.  He’s also ridiculously cuddly.  Sometimes he’s so cute and happy with cuddles that I don’t want to disturb him, but I’m also bored.  I almost always have my phone with me, so I whip it out and take pictures of him.  Of course, I take many close ups of his face.

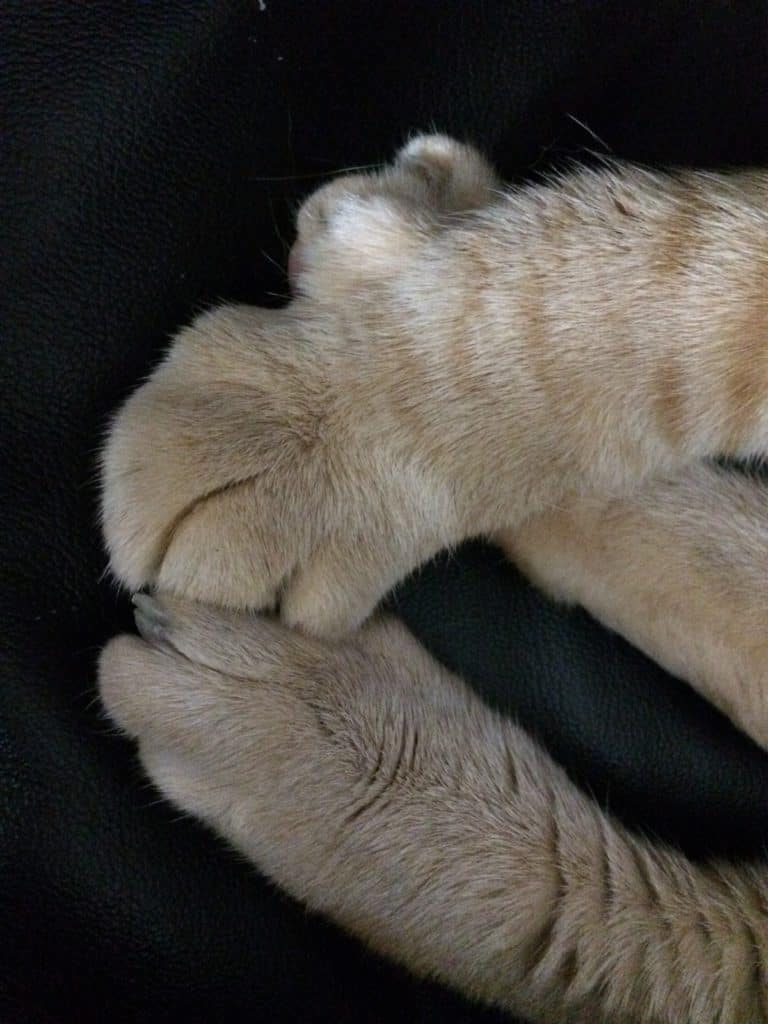
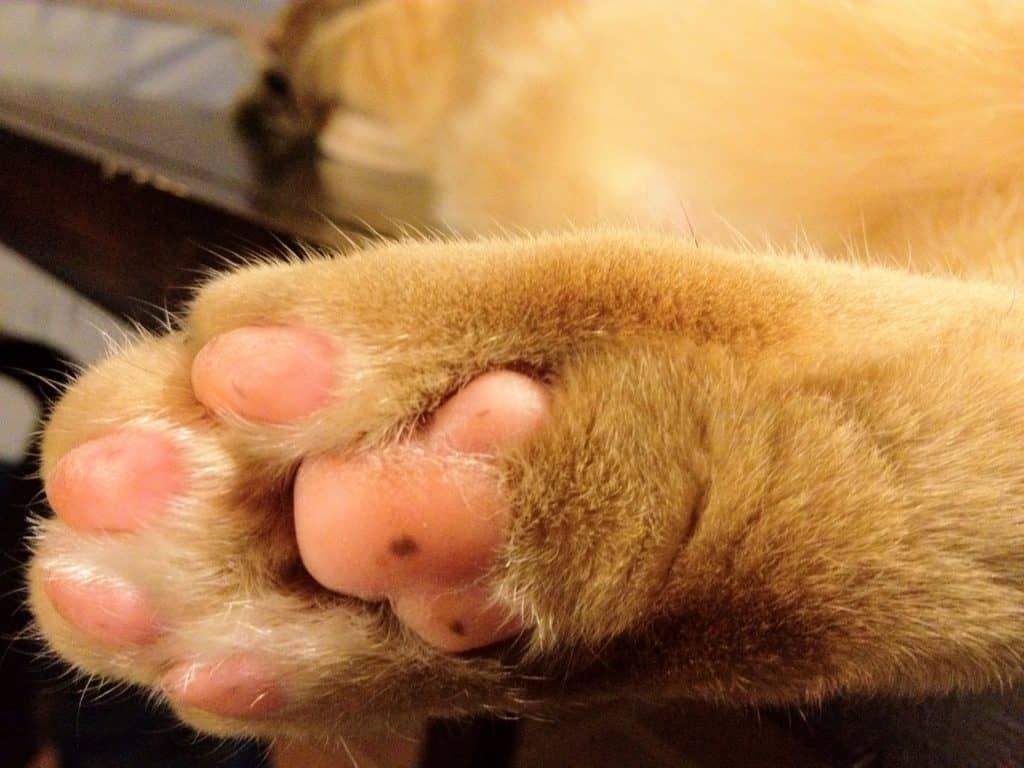
But I am also rather obsessed with taking pictures of his paws.

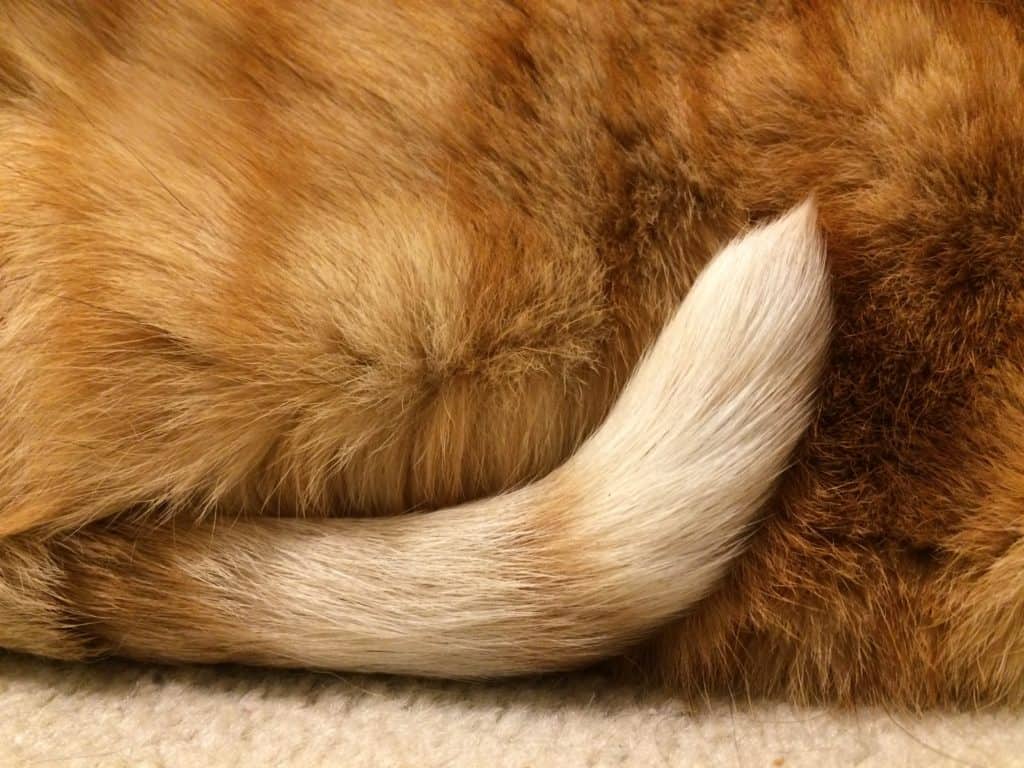
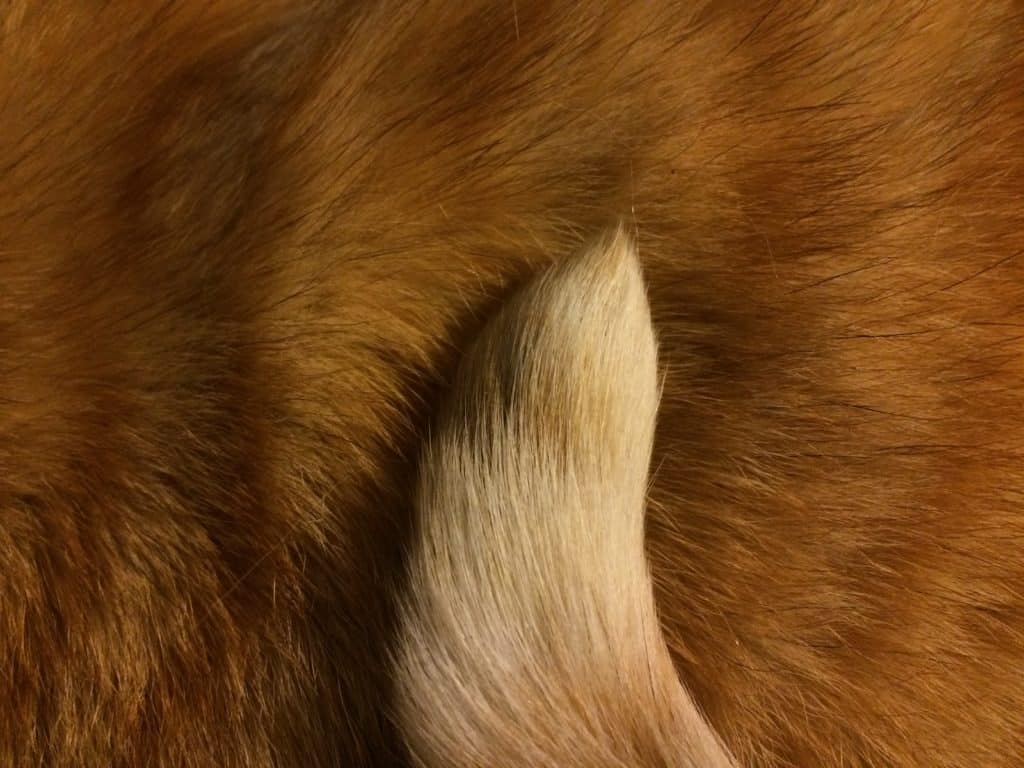
And the way his tail wraps around his body and curls up beside his hip is one of the most precious things in the world.

Life

My husband grew up in Toms River, NJ.  Toms River is right about in the middle of the New Jersey coastline, separated by the intracoastal from Seaside Heights and Seaside Park, NJ.  He grew up going to the Seaside beach constantly.  His grandmother and an aunt each lived a couple blocks from the beach where the boardwalk was.  Superstorm Sandy destroyed much of the boardwalk.  If you watched any of the coverage of that storm, you might remember a picture of a roller coaster in the ocean.  That was the Seaside boardwalk where my husband grew up.  After Sandy, the boardwalk was rebuilt in record time, and the businesses lining it reopened for the following summer season.  That fall, one year after Sandy, an electrical short started a fire that burned six blocks of the newly-rebuilt boardwalk (this article says 3 blocks, but it was really 3 blocks in Seaside Heights plus 3 blocks in Seaside Park for a total of six blocks).  Fire trucks came from all over the state to fight that fire.  In the end, they were only able to put it out by bulldozing out part of the new boardwalk to create a fire break.

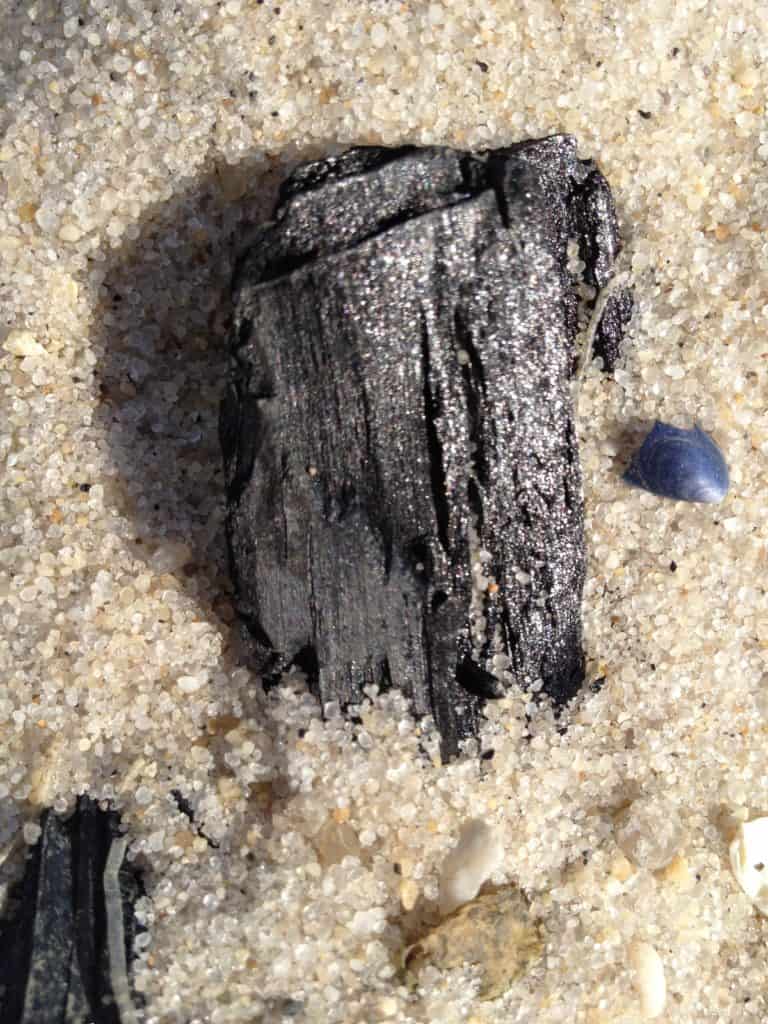
Three months after the fire, we were in New Jersey for Christmas, so we went down to the boardwalk to view the devastation.  The picture before is a charred piece of wood, about 4 inches long, embedded in the sand near where the fire started.

Birds

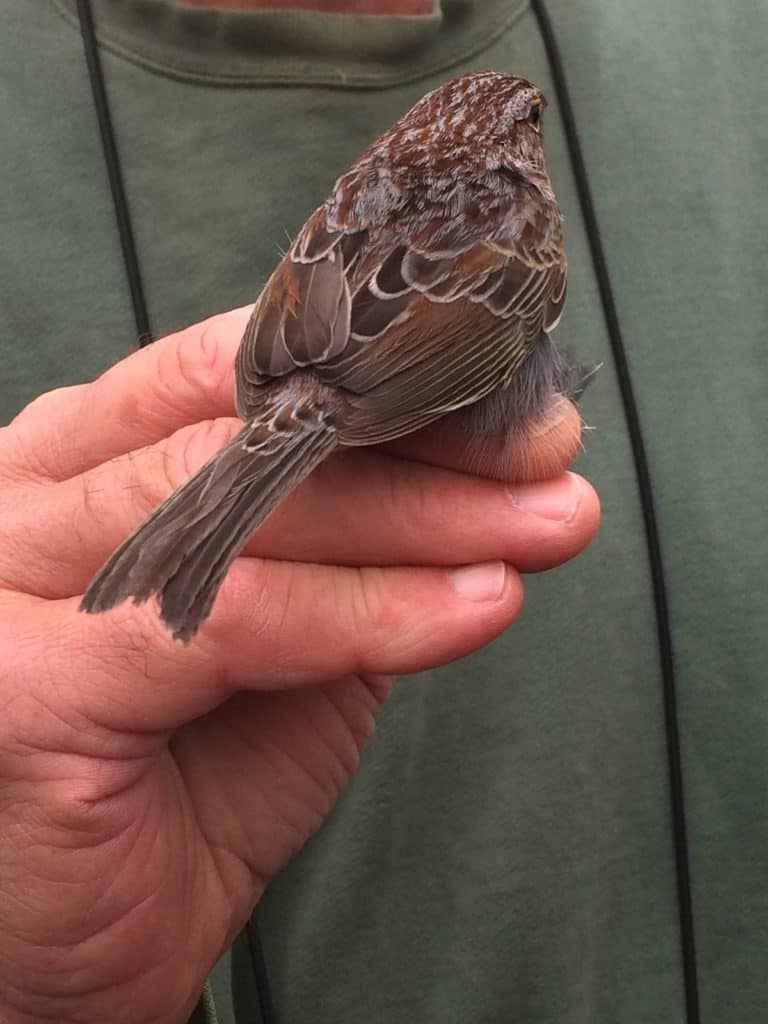
My father is a birdwatcher; I’ve been birdwatching with him since I was 6 months old, in a backpack on his back.  Last year, we attended the Space Coast Birding and Wildlife Festival.  One of the tours we took was a bird banding tour.  The guide was a licensed bird bander.  We accompanied him to the location where he bands and helped him to capture three birds for banding.  He applied a band to each bird, weighed them, measured their wings, beaks, and leg bones, then released them.  This is a Bachman’s Sparrow, an uncommon species which is in decline due to habitat loss.

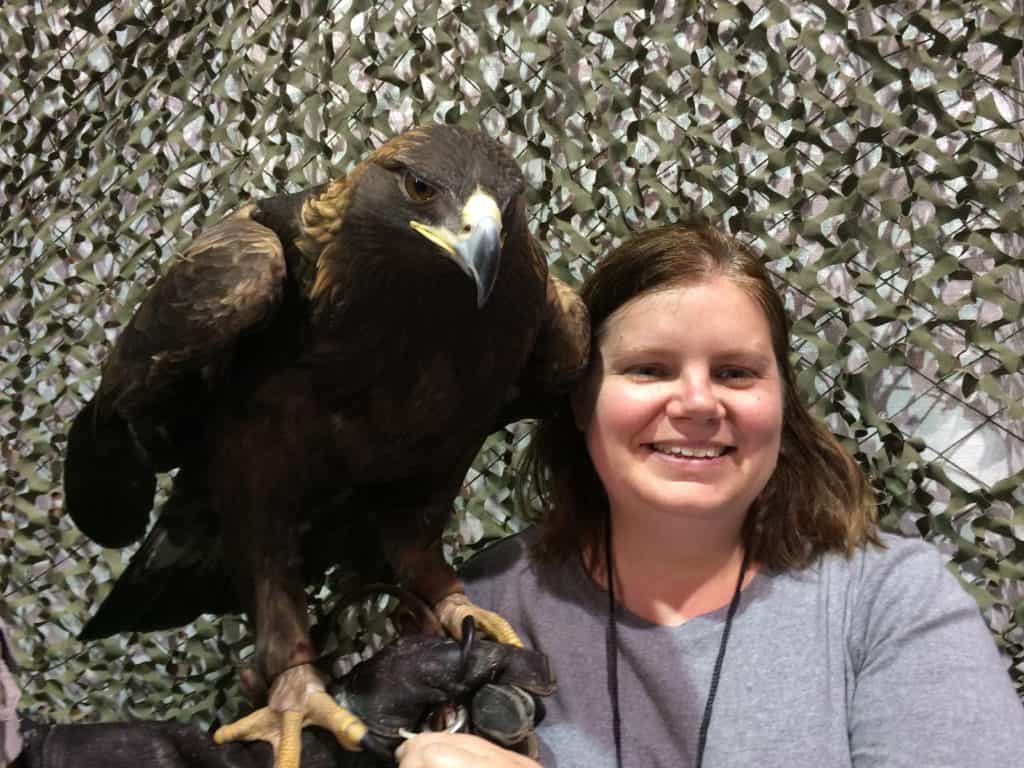
In the vendor area of the festival, was a booth operated by a bird rescue.  They brought several of their education birds — birds that will never be able to released back to the wild due the extent of injury — and you could have a picture taken with the bird of your choice.  I picked the Golden Eagle because I am a Ravenclaw and the Eagle is the emblem of our House.  Note that I am not holding this bird.  Only licensed handlers are able to do that.  The eagle is sitting on the gloved hand of the handler and I am standing beside her.  The picture is taken from a clever angle, making it seem that I’m closer than I actually am!

In the Yard

Several years ago, I got lenses for my iPhone camera.  I didn’t know such a thing was possible until I was traveling on business and a colleague had them for her phone.  I was so excited, I bought myself a set.  I especially loved the macro lens.

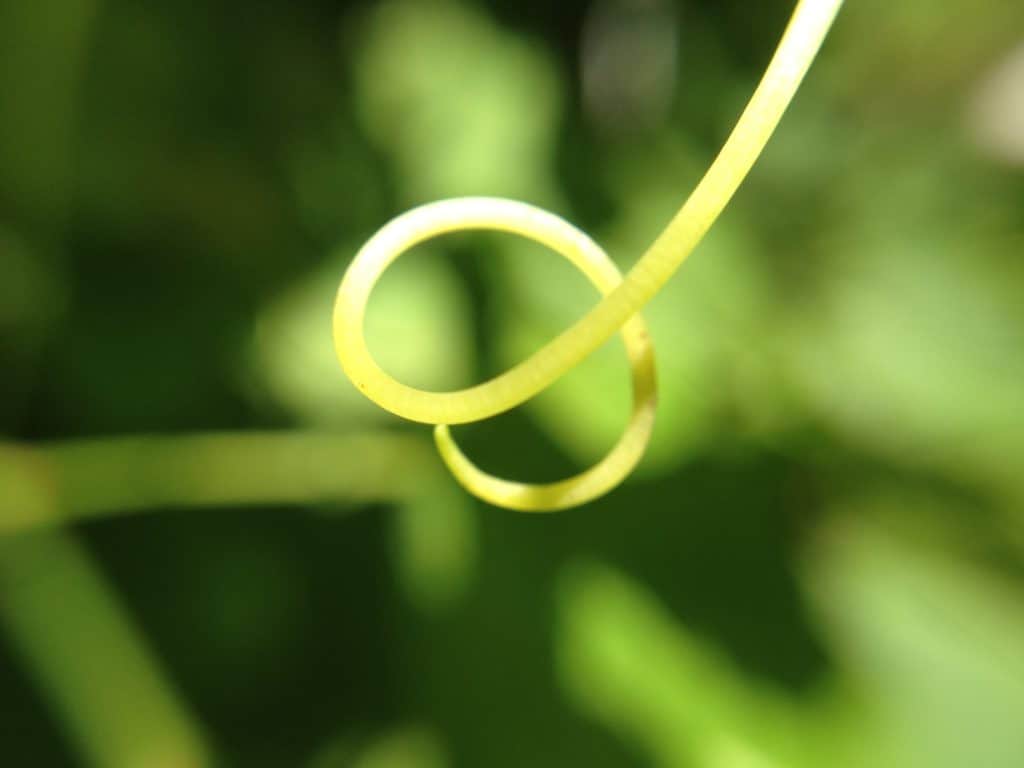
Leaf and tendril from the grape vines.  We’ve since pulled them out because they were growing up against the house, destroying the paint and the window screens.  Plus the neighborhood birds ate all the baby grapes while they were still green so we never got any ourselves.

A cherry tomato, still on the vine.

Lichen on the trunk of a crepe myrtle.

A crab spider on its web.

Click here to read Yarn Love Challenge, Day 3: Currently Making.

(Re)Introductions

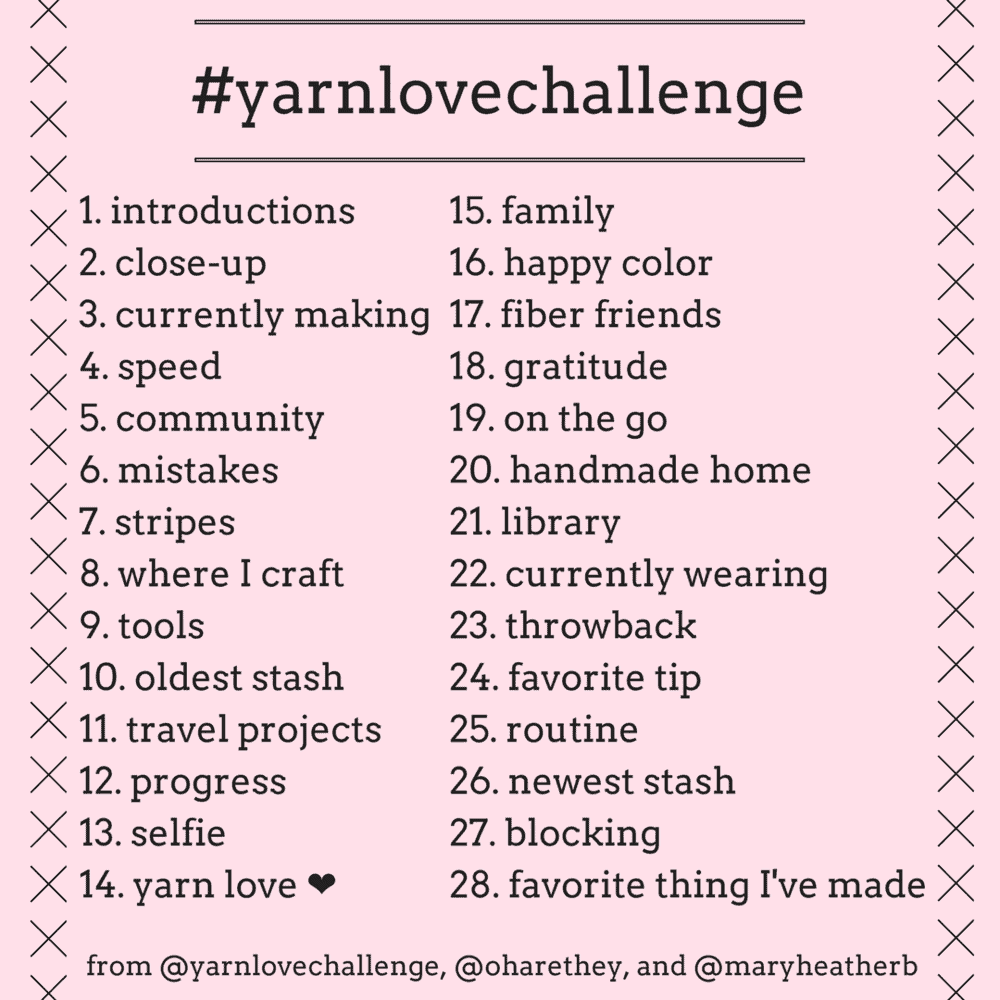
For the month of February, Ravelry developers Mary Heather and Christina introduced an Instagram challenge called the Love Yarn Challenge.  I’m not on Instagram, so didn’t learn about the challenge until halfway through the month.  When I found out about it, I thought I’d play along on my blog, but right around that time, my blog got hacked and it took a little time to fix that problem.  On the theory of better late than never, I decided to do the challenge in March.  If you haven’t seen the challenge yet, here’s the themes for each day:


Obviously, February has only 28 days while March has 31, so there’s no challenge prompts for the last 3 days of March.  This month, I’m attending the Florida Tropical Weavers Guild and then going to London with my husband to celebrate our anniversary.  I’ll post about those adventures on the last 3 days of March, so you’ll get a blog post every day this month!

Most of the people who read this blog know me irl or have been reading for a while.  For you, the ‘introduction’ in this post is to the idea of the yarn love challenge!  If you’re new to the blog, please check out the About Us section and the first ever post on this blog to start learning more about me.

Where Do We Go From Here?

When I started this blog back in 2014, I was numb.  The preceding 3 years were emotionally and physically exhausting.  I felt drained and untethered.  I identified with Season 6 Buffy:

I started writing this blog because I needed something positive and productive to do.  The blog was the first step in recovering and reconnecting with myself.  This is an ongoing journey, but I have traveled well along the path over the last 3 years.  It has been a time of growth and rejuvenation.  Many of you reading this blog have been part of that and I am so grateful to you.

I do not usually have a word of the year, but for 2017, a word floated up for me in December: Finish.  This word continues to sit with me.  I’m working with it in the sense of completion.  The craziness of 2011-13 and the numbness that followed meant that many routine things didn’t get done in my life and now there’s a pile of things, many little but a few big ones too, waiting for my attention.  I’ve been working slowly through the pile.  Since that’s been taking my time and attention, I’ve done less fiber work and less blogging.  However, I miss both the fiber and the blog.  I am taking on this Yarn Love Challenge because I hope that it will jumpstart my love for both and help me focus more attention on them.

Click here to read Yarn Love Challenge Day 2: Close-Ups.

Crafting CPH

“Why would you spend $25 on yarn to knit a pair of socks when you can buy a dozen pairs at Walmart for maybe $10?”  Every crafter I know has been asked some variant of this question.  Usually the crafter stumbles through a response, defending the reasons she or he chooses to work with fiber.  Afterwards, the crafter might rant on Facebook or Ravelry about the latest inquiry they’ve gotten along this line and  how non-crafters just don’t get it.

There are many wonderful reasons to craft with fiber; Franklin Habit’s recent blog post on Lion Brand Yarns site provides a far more eloquent explanation than I’m able to write and the comments on that post share many personal perspectives on the question.  I believe it is valuable to share our reasons for crafting with fiber.  Maybe you’ll inspire someone to pick up needles or hooks and yarn!

But perhaps you don’t want to share your personal perspective with the latest random stranger to comment on your work.  Or perhaps you have a relative or co-worker who has commented multiple times and discounts the reasons you have given.  For these circumstances, I propose the kind of practical, emotion-free response the Inquisitor seems to require: the Crafting Cost Per Hour (CCPH).

The Inspiration

I read Your Money or Your Life (Amazon affiliate link, Summary on author’s website) a couple of decades ago, when I was in my early 20s.  The book offers a 9-step method for transforming our relationship to money.  The book starts with the idea that we exchange our time for money.  One step is to calculate exactly how much you are paid per hour.  This amount isn’t the hourly figure your employer uses to calculate your pay.  You add into your weekly hours the time you spent on work-related tasks like commuting and you deduct from your weekly gross salary the costs related to your job, then calculate your actual hourly rate based on these new figures.

For example, let’s say you work 40 hours per week and are paid $10 per hour for a weekly gross salary of $400.  Perhaps your commute is 1/2 hour each way on public transit and you pay $80 per month = $20 per week for a monthly transit pass, which you use only to get to and from work.  These commuting expenses and time mean that your weekly gross salary is reduced to $380 and your work hours increased to 45 hours per week.  Your actual hourly wage is $380 / 45 hours = $8.44.  The summary link above has a list of other work-related time and expenses that you can contemplate if you wish to calculate your own hourly wage.

In the Your Money or Your Life method, once you calculate your hourly wage, you then divide every expense you have by that hourly wage to determine how many hours of your life you traded for that item.  Then you evaluate that item by asking yourself if the number of hours you traded for that item are as valuable as the item itself.

While I have not consistently followed the steps of Your Money or Your Life, some of the ideas have stayed in the back of my mind and, when I saw yet another post about a Cost of Sock Inquisitor, I was inspired to calculate what each hour of craft costs.

Basic Crafting Cost Per Hour

If you’ve purchased finished yarn and then knit, crocheted, or woven it into finished object, calculating the cost per hour is straightforward.  Simply divide the cost of the yarn by the number of hours it took (or will take) you to finish the project(s) you will knit with that yarn.

$25 for sock yarn / 20 hours to knit socks = CCPH of $1.25 / hour

Some people try to convince you that spinning is even more expensive than knitting or crocheting.  However, when looked at from the perspective of CCPH, that isn’t necessarily the case.  If you purchased a 4 ounce braid of spinning fiber for $30, spun and plied it, then knit it into a pair of socks, your CCPH is lower than knitting socks with purchased yarn.

$30 for fiber / (8 hours to spin + 2 hours to ply + 20 hours to knit) = $30 / 30 hours = CCPH of $1.00 / hour

If you mostly just want to respond to Inquisitors, you can use the basic formula and create a rule of thumb for the projects you most commonly knit in public.  Maybe your carry around project is always socks and you know about how long it takes you to knit a pair.  Calculate your CCPH once for each type of project and you’re done.

Beyond the Basics

I know that many of you profess to not like math and for you, the basic crafting cost per hour will be sufficient to respond to the Inquisitor.  Feel free to skip this section.  But I happen to love math, and there are many knitters who love math also.  Perhaps you might decide to calculate the CCPH for every project you do, just for fun.

We all know that our fiber crafting projects cost more than just the yarn or fiber for that project.  We have costs for tools, classes, storage.  We also know that the benefits are more than just the finished project.  We spend time with friends while we craft.  We watch less TV, or TV time is productive because we are crafting, not just sitting.  These costs and benefits are variable, personal, and more difficult in the accounting.  However, these types of variable and personal costs are considered in the Your Money or Your Life method, and I believe we can consider them in our context also.  I’m only going to explore two factors — tools and time — in depth, but use this as inspiration to think carefully and creatively about the costs and benefits associated with your fiber crafting!

Tools

If we choose good quality tools, fit to the task, they will last for a long time.  So how do we account for them in calculating CCPH.  I have two thoughts on this, depending on if they are small tools (needles, hooks, etc) or large tools (looms, spinning wheels, etc).  For small tools, I’m inclined to include them in the cost of the first project I make with them.  If I buy a second US 1 needle so I can knit my socks on two circulars, the cost of that needle can be added to the cost of that sock project.  From then on, the use of that tool is free.

Large tools need to be depreciated in some way.  Pick the time period over which to depreciate the tool — a year, two, three, four, five — whatever you prefer.  Divide the cost of the tool by the number of years to determine your cost per year.  Whenever you use the tool, keep track of how long you use it.  Keep a running total of the number of hours you use it as well as the number of hours used on a specific project.  At the end of the year, divide the cost per year by the number of hours you used the tool that year to determine your hourly cost for use of the tool.  For each project using that tool, multiply the number hours of use by the calculated hourly cost of the tool.  Once you come to the end of your depreciation period, use of the tool is free.

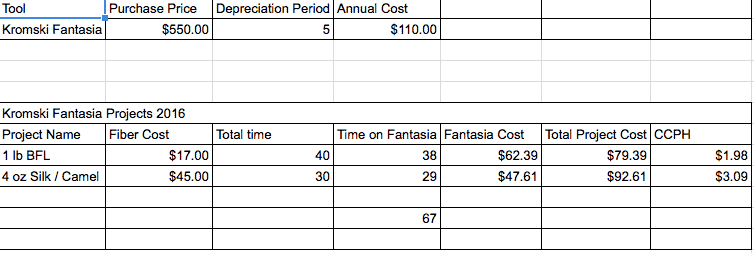
I made a quick little Google spreadsheet to illustrate the depreciation of my spinning wheel, a Kromski Fantasia.  I bought the wheel in 2013 and I’m not going back to look at all the projects I’ve done on it.  I’m just using two projects as an illustration here.  My first thought was to depreciate the wheel over 5 years.  Here’s what that spreadsheet looks like:

screen-shot-2017-01-17-at-11-05-25-am

Even with the use of a relatively expensive tool, and a modest amount of use of the tool (less than 1.5 hours / week), each project’s cost per hour of crafting is modest.  What happens if we decide to depreciate the spinning wheel over just one year, still with the same modest use of the wheel?

screen-shot-2017-01-17-at-11-05-39-am

While the cost per project and CCPH at least triple, the CCPH is still incredibly low.  On a per hour basis, depreciating the spinning wheel over one year with less than 1.5 hours use in a week, costs about the same as going to a movie in the theater. Once I’ve finished depreciating the wheel and the use of it no longer counts in my cost per project, the CCPH of my spinning projects will be pennies.

Obviously, this calculation will vary wildly depending on the price of the tool, the time period you choose for depreciation, and your actual use of the tool after you purchase it.  But that’s to be expected.  I’m just offering a way to capture this cost on a per project basis.  And perhaps a useful analysis to justify the purchase of your next loom or spinning wheel!

Time

I think the total time for a project can and should be increased to account for the other benefits we receive from pursuing our fiber crafts.  This might sound like cheating, because you will be double-counting time, but let me see if I can convince you otherwise.  I can knit or crochet or spin or weave in a variety of circumstances.  I might be at home alone, doing nothing but knitting.  I might be home with my husband, watching TV in the evening.  I might be in public, doing a demo where I am specifically looking to interact with people and explain what I’m doing.  I might be in public, waiting for an appointment to start or flying on a plane.  I might be hanging out with friends, at knit night, at a retreat, or in a cabana by the river (like I was yesterday).

Each of these scenarios offers me benefits that aren’t specifically related to my fiber crafting.  Time that might otherwise be wasted feels productive.  Friendships grow, providing a sense of emotional well-being.  I get some down time and to be outside.  I don’t have to be fiber crafting to get these benefits — I could hang out in a cabana by the river with friends and just chat all day without doing fiber crafts at the same time.  Fiber-crafting while also accruing these other benefits is multi-tasking.  Therefore, the time should count more than once — the first time it counts as time accrued for the finished product and the next time it counts as time accrued for process.

In addition, double (or perhaps triple or quadruple) counting time builds into our equation, and our response to the Inquisitor, all the very personal reasons why we knit.  We can give what sounds like a practical, emotion-free, by-the-numbers response while simultaneously honoring rather than denying the real soul of our work.  We don’t have to share all those details with the Inquisitor — that would defeat an important purpose of the CCPH calculation — but we know we’ve included, rather than denied, what is truly important to us.

The amount of time to count for these extra benefits is up to you.  If I’m waiting for an appointment or knitting while watching TV, I’m unlikely to double-count all that time.  In these instances, I’m turning otherwise unproductive time into productive time by knitting.  This time is tied very closely to the product rather than the process.  It’ll take 20 hours to knit these socks, regardless of circumstances, and I’ve just captured a particular piece of those 20 hours.  In the case of knitting while watching TV, did I turn the TV on as background for my knitting?  Or would I watch TV anyway?  Either way, I’m not getting a huge amount of value out of the TV watching.  Maybe I’ll double-count 25% or 50% of the time.

On the other hand, when I spend a day fiber-crafting in a cabana by the river, I am receiving multiple benefits above and beyond the fiber work.  I’m outside, which is a huge benefit in and of itself.  I’m with friends.  Maybe I should triple-count all the time I’m crafting at the river.  And even when I’m not actively fiber crafting, because I’m grilling burgers or eating, I still count that time towards my project because I wouldn’t be there if it weren’t for the fiber.

The important thing here is to honestly account for the benefits you are receiving from the fiber crafting.  You don’t have to justify yourself to anyone else.  You just need to be honest with yourself.

A New Response

Now you’re ready for the next time someone asks, “Why would you spend $25 on yarn to knit a pair of socks when you can buy a dozen pairs at Walmart for maybe $10?”

Rather than rolling your eyes and explaining all your personal reasons for knitting, try this: “You’re looking at it through the wrong lens.  It’s true that I don’t have to knit.  I do it as a hobby that brings me great joy.  And when viewed that way, it is incredibly inexpensive, especially when compared to other entertainment.  This yarn might cost $25, but it’s going to take me 20 hours to knit these socks, which means I’m paying only $1.25 per hour of entertainment.  What other entertainment is so inexpensive?”

Review Your Cart
0
Add Coupon Code
Subtotal
Total Installment Payments
Bundle Discount